Written 24 March, 2010
Making Signs for Second Life
I made my first Second Life sign back in November 2006, just days after I acquired my first property. Since my idiot neighbor Kitra had put in a security orb that covered his entire parcel, I wanted signs to mark the borders of my parcel.
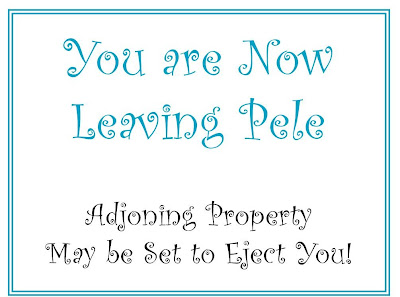
It was simple, as were the next few signs:
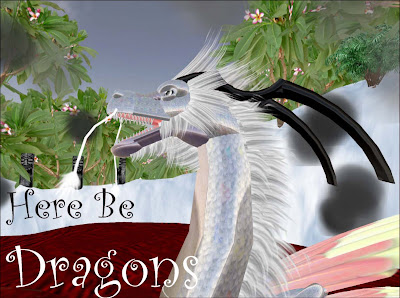
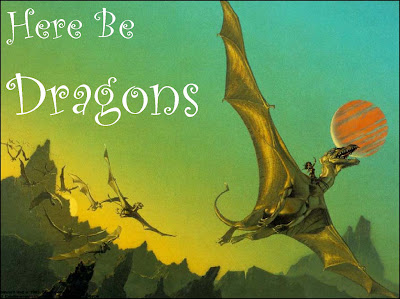 Thankfully, I soon abandoned that horrible font!
To make my signs I used an ancient copy of Quark XPress, a page layout program I had once used to design magazines and newsletters.
Soon, my Quark signs became more complex.

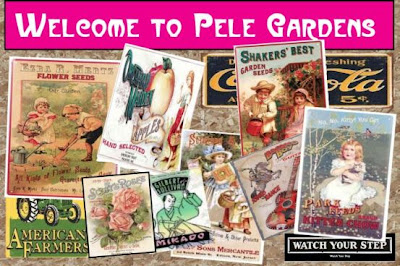

XPress was handy for making signs, although my older version 3.1 was limited. For instance, to get an image into Second Life I had to print it as an Adobe Acrobat file , then save the Adobe PDF as a jpg, then pay ten Lindens to import the jpg into Second Life. And there were just some things XPress couldn't do.
Enter GIMP.
GIMP is an unfortunate acronym for Gnu Image Manipulation Program, a shareware program with most of the functionality of the expensive PhotoShop.
More than ten years earlier I had set a goal of learning Photoshop, but I moved away from my early Mac, which had the program installed. One thing led to another, and time marched on.
When I downloaded GIMP I took myself to Amazon and ordered the book Beginning GIMP by Akkana Peck. I worked my way through the chapters and pretty soon I more or less understood what I was doing.
GIMP was handy for cutting figures out of backgrounds:

That's a prim Bender I made. I soon learned photographing prims in front of colored backdrops helped in cutting them out of the background.
Here's my first alpha, a cutout of Sesame Street characters Statler and Waldorf, made for my friend Dodgeguy Woodward and accomplished by flying by the seat of my pants:
 The alpha was less than perfect, but it worked!
GIMP's layers and assorted filters and scripts allowed me to easily achieve effects not possible in Quark:

And it was more handy than XPress for some signs. Compare this with the Gardens sign above:
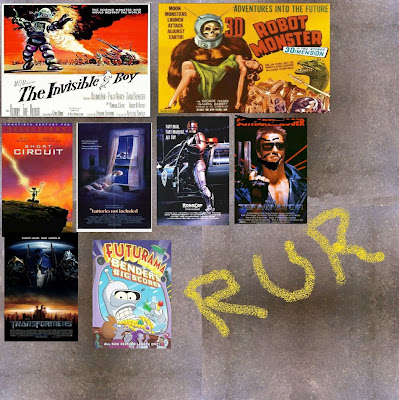
GIMP has been handy for more than signs, however. Here I've applied a frame to a photo:

Where GIMP really shines, however, is in the creation of textures and the alteration of photos.
See here for GIMPed photos; in each, I removed the name tag of the water skiing robot.
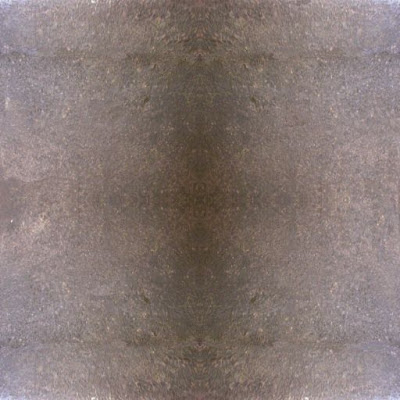
With GIMP, you can blend textures, layer them, lighten or darken, smudge them, or actually draw them. Here's one of my first textures, cast iron at 512 x 512 pixels . Feel free to download and use it.
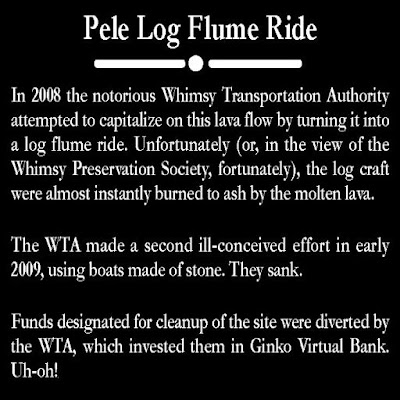
Signs can add a lot to a landscape, or they can detract from it. Come to Whimsy some time and enjoy the signs. Most are funny, and, taken together, they tell the story of a tropical archipelago that was abandoned by its colonizers due to volcanic activity and only recently reinhabited.
 Click on the photo above to read the sign.

It was simple, as were the next few signs:

 Thankfully, I soon abandoned that horrible font!
To make my signs I used an ancient copy of Quark XPress, a page layout program I had once used to design magazines and newsletters.
Soon, my Quark signs became more complex.


XPress was handy for making signs, although my older version 3.1 was limited. For instance, to get an image into Second Life I had to print it as an Adobe Acrobat file , then save the Adobe PDF as a jpg, then pay ten Lindens to import the jpg into Second Life. And there were just some things XPress couldn't do.
Enter GIMP.
GIMP is an unfortunate acronym for Gnu Image Manipulation Program, a shareware program with most of the functionality of the expensive PhotoShop.
More than ten years earlier I had set a goal of learning Photoshop, but I moved away from my early Mac, which had the program installed. One thing led to another, and time marched on.
When I downloaded GIMP I took myself to Amazon and ordered the book Beginning GIMP by Akkana Peck. I worked my way through the chapters and pretty soon I more or less understood what I was doing.
GIMP was handy for cutting figures out of backgrounds:

That's a prim Bender I made. I soon learned photographing prims in front of colored backdrops helped in cutting them out of the background.
Here's my first alpha, a cutout of Sesame Street characters Statler and Waldorf, made for my friend Dodgeguy Woodward and accomplished by flying by the seat of my pants:
 The alpha was less than perfect, but it worked!
GIMP's layers and assorted filters and scripts allowed me to easily achieve effects not possible in Quark:

And it was more handy than XPress for some signs. Compare this with the Gardens sign above:

GIMP has been handy for more than signs, however. Here I've applied a frame to a photo:

Photo by Sweetie
Where GIMP really shines, however, is in the creation of textures and the alteration of photos.
See here for GIMPed photos; in each, I removed the name tag of the water skiing robot.
With GIMP, you can blend textures, layer them, lighten or darken, smudge them, or actually draw them. Here's one of my first textures, cast iron at 512 x 512 pixels . Feel free to download and use it.

Signs can add a lot to a landscape, or they can detract from it. Come to Whimsy some time and enjoy the signs. Most are funny, and, taken together, they tell the story of a tropical archipelago that was abandoned by its colonizers due to volcanic activity and only recently reinhabited.
 Click on the photo above to read the sign.
2 comments:
The signs indeed add a great deal to Whimsy... but why do I suddenly hear singing in my head? "Here's a story/of a tropical archipelago/Who was living with..."
Come to think of it, if you're familiar with Quark Xpress, you might wish to take a look at Scribus (http://www.scribus.net/).
Post a Comment